
Hummingbird Feeder Maintenance: How to Keep Your Feeder Clean and Safe
Hummingbird feeders are an excellent way to attract these beautiful creatures to your yard, but maintaining the health and safety of the birds requires regular care and cleaning. Dirty feeders can quickly become a breeding ground for harmful bacteria and mold, which can make your feathered friends sick. To ensure your hummingbird feeder is providing a safe and healthy environment for these delicate creatures, here are the best practices for cleaning and maintaining your feeder.
Why Clean Your Hummingbird Feeder?
Hummingbirds depend on feeders for nourishment, especially during migration or when natural food sources are scarce. However, sugar water can spoil quickly, leading to:
- Bacterial Growth: Spoiled nectar can grow harmful bacteria that can cause diseases like mold and fungal infections in hummingbirds.
- Ants and Insects: If not cleaned properly, feeders can attract ants, bees, and other insects, interfering with the birds’ access to nectar.
- Mold and Fungus: Mold can easily develop in sugary nectar, which can be toxic to birds.
By keeping your hummingbird feeder clean, you’re offering a safe feeding station that provides essential nutrients to your visitors.
How Often Should You Clean Your Feeder?
The frequency of cleaning depends on several factors:
- Weather Conditions: If it’s hot or humid, sugar water can ferment and spoil within a couple of days. In such cases, it’s essential to clean the feeder every 2-3 days.
- Season: During migration or peak feeding seasons, hummingbirds may use the feeder more frequently, requiring more regular cleaning.
- Feeder Design: Larger feeders with more nectar may need cleaning less often, while small, shallow feeders may require more frequent attention.
As a general rule, clean your feeder at least once a week or more frequently during warm weather or high-traffic periods.
Steps for Cleaning Your Hummingbird Feeder
- Disassemble the Feeder: Remove all parts of the feeder, including the nectar container, base, and any feeding tubes or perches. If the feeder has a removable ant moat, clean that as well.
- Empty the Old Nectar: Discard any remaining nectar from the feeder. It’s best to pour it out into the garden or compost to avoid attracting pests to the area.
- Wash with Hot Water: Wash all parts of the feeder with hot water and a brush or sponge. Avoid using soap, as it can leave harmful residues that could harm the birds. For stubborn grime or mold, use a 1:1 mixture of white vinegar and water. The acidity of vinegar helps remove mold and bacteria without harming the birds.
- Scrub Hard-to-Reach Areas: Use a bottle brush or an old toothbrush to scrub the small holes and crevices, where mold and nectar can accumulate. Pay close attention to the feeding ports and any other narrow areas where debris might build up.
- Rinse Thoroughly: After scrubbing, rinse all parts of the feeder thoroughly to remove any remaining cleaning solution or vinegar.
- Dry the Feeder: Before refilling your feeder, dry it completely using a clean towel or by letting it air dry. This helps prevent any moisture from mixing with the new nectar, which can lead to fermentation.
- Refill the Feeder: Once the feeder is clean and dry, refill it with fresh nectar. Make sure the nectar is the right ratio: 1 part white granulated sugar to 4 parts water. Avoid using red dye, as it’s unnecessary and could be harmful to the birds.
Additional Tips for Maintaining a Hummingbird Feeder
- Check for Cracks or Leaks: Inspect your feeder regularly for cracks, leaks, or broken parts. A leaking feeder can waste nectar and invite ants or other insects.
- Store Nectar Properly: If you make a large batch of nectar, store any extra in the refrigerator for up to a week. Always allow it to reach room temperature before refilling your feeder to avoid shocking the birds with cold nectar.
- Place the Feeder in the Right Spot: Keep your feeder in a shaded area to prevent the nectar from spoiling too quickly in the sun. Avoid placing it near windows to reduce the risk of collisions and injury.
- Use an Ant Moat: To keep ants away from your feeder, use a built-in or separate ant moat. These moats can be filled with water to create a barrier that ants can’t cross.
- Consider Using Bee Guards: If bees or wasps are becoming a problem, some feeders come with bee guards or can be fitted with additional accessories to keep the bees from accessing the nectar.
Signs That Your Feeder Needs Cleaning
Keep an eye out for these signs that it’s time to clean your hummingbird feeder:
- Cloudy Nectar: If the nectar looks cloudy or has a sour smell, it’s time to clean the feeder.
- Mold Growth: Mold or black spots inside the feeder are clear indicators of contamination and should be cleaned immediately.
- Decreased Visits: If you notice that hummingbirds are no longer visiting your feeder, it could be because it’s too dirty or the nectar has gone bad.
Conclusion: Keep Your Hummingbird Feeder Safe and Clean
Regular maintenance of your hummingbird feeder is essential to ensuring that the birds visiting your yard stay healthy and safe. By following the cleaning steps and tips provided, you can create a safe, welcoming environment for hummingbirds all year round. Not only will this encourage more visits, but it will also ensure these delicate creatures have the nourishment they need to thrive.
If you’d like to learn more about hummingbird care or find the perfect feeder for your yard, feel free to explore our collection of high-quality, easy-to-clean hummingbird feeders that are designed with both the birds’ health and your convenience in mind!
Photos to Add:
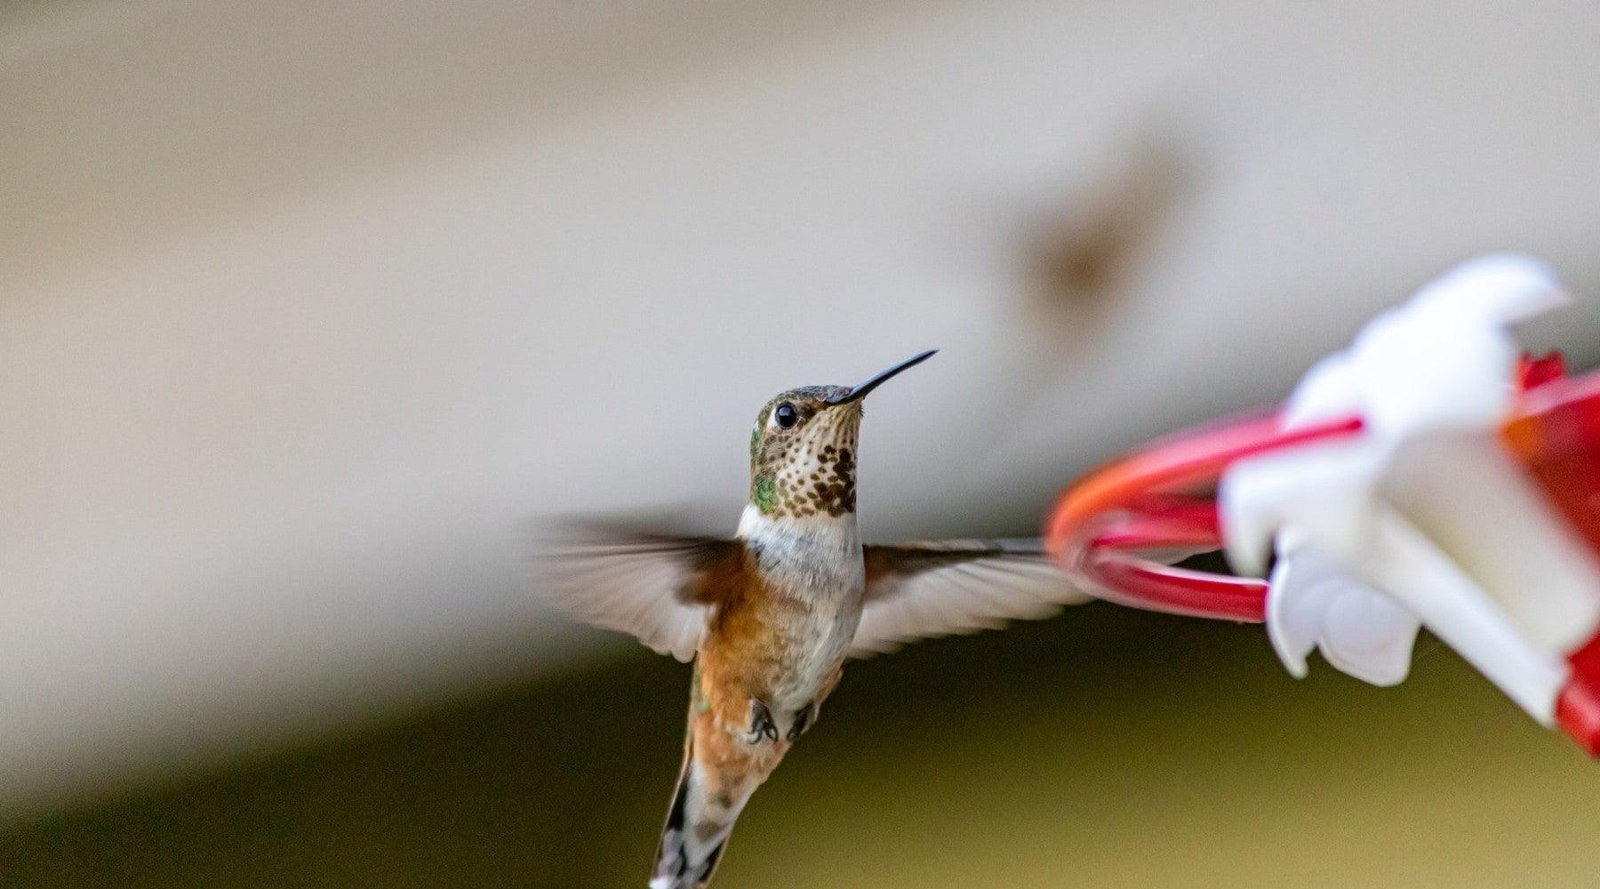
- A close-up of a hummingbird feeding from a clean feeder.
- Step-by-step images of the cleaning process (e.g., scrubbing the feeder, rinsing with water).
- A beautifully maintained hummingbird feeder hanging in a garden with vibrant flowers in the background.
By maintaining a clean feeder, you’re not only supporting your local hummingbird population but also creating a stunning garden feature that brings joy to you and the wildlife around you! 🌿🐦
